Roof Storm Damage Checklist (What To Do After A Storm)
When storms strike—whether it’s hail, heavy rain, or high winds—your roof is your home’s first line of defense. Even if the storm passes quickly, the damage it leaves behind can lead to costly repairs or long-term structural issues.
That’s why every homeowner should have a Roof Storm Damage Checklist. With a clear plan in hand, you’ll know exactly what to do after a storm hits. This guide walks you through each step: from the first visual inspection to documenting damage for insurance and knowing when it’s time to call a professional.
Following a reliable Roof Storm Damage Checklist not only protects your property but can also speed up your recovery process, saving you time, money, and stress.
Step 1: Prioritize Safety First
Before you inspect your property, ensure the area is safe.
- Wait until the storm has completely passed
- Check for downed power lines, tree limbs, or loose roofing materials
- Avoid climbing onto the roof without proper training or safety equipment
Begin your inspection from the ground. Use binoculars or your phone’s zoom to spot major issues without putting yourself at risk.
This first step of the Storm Damage Checklist ensures you’re protecting your safety while still assessing potential damage early.
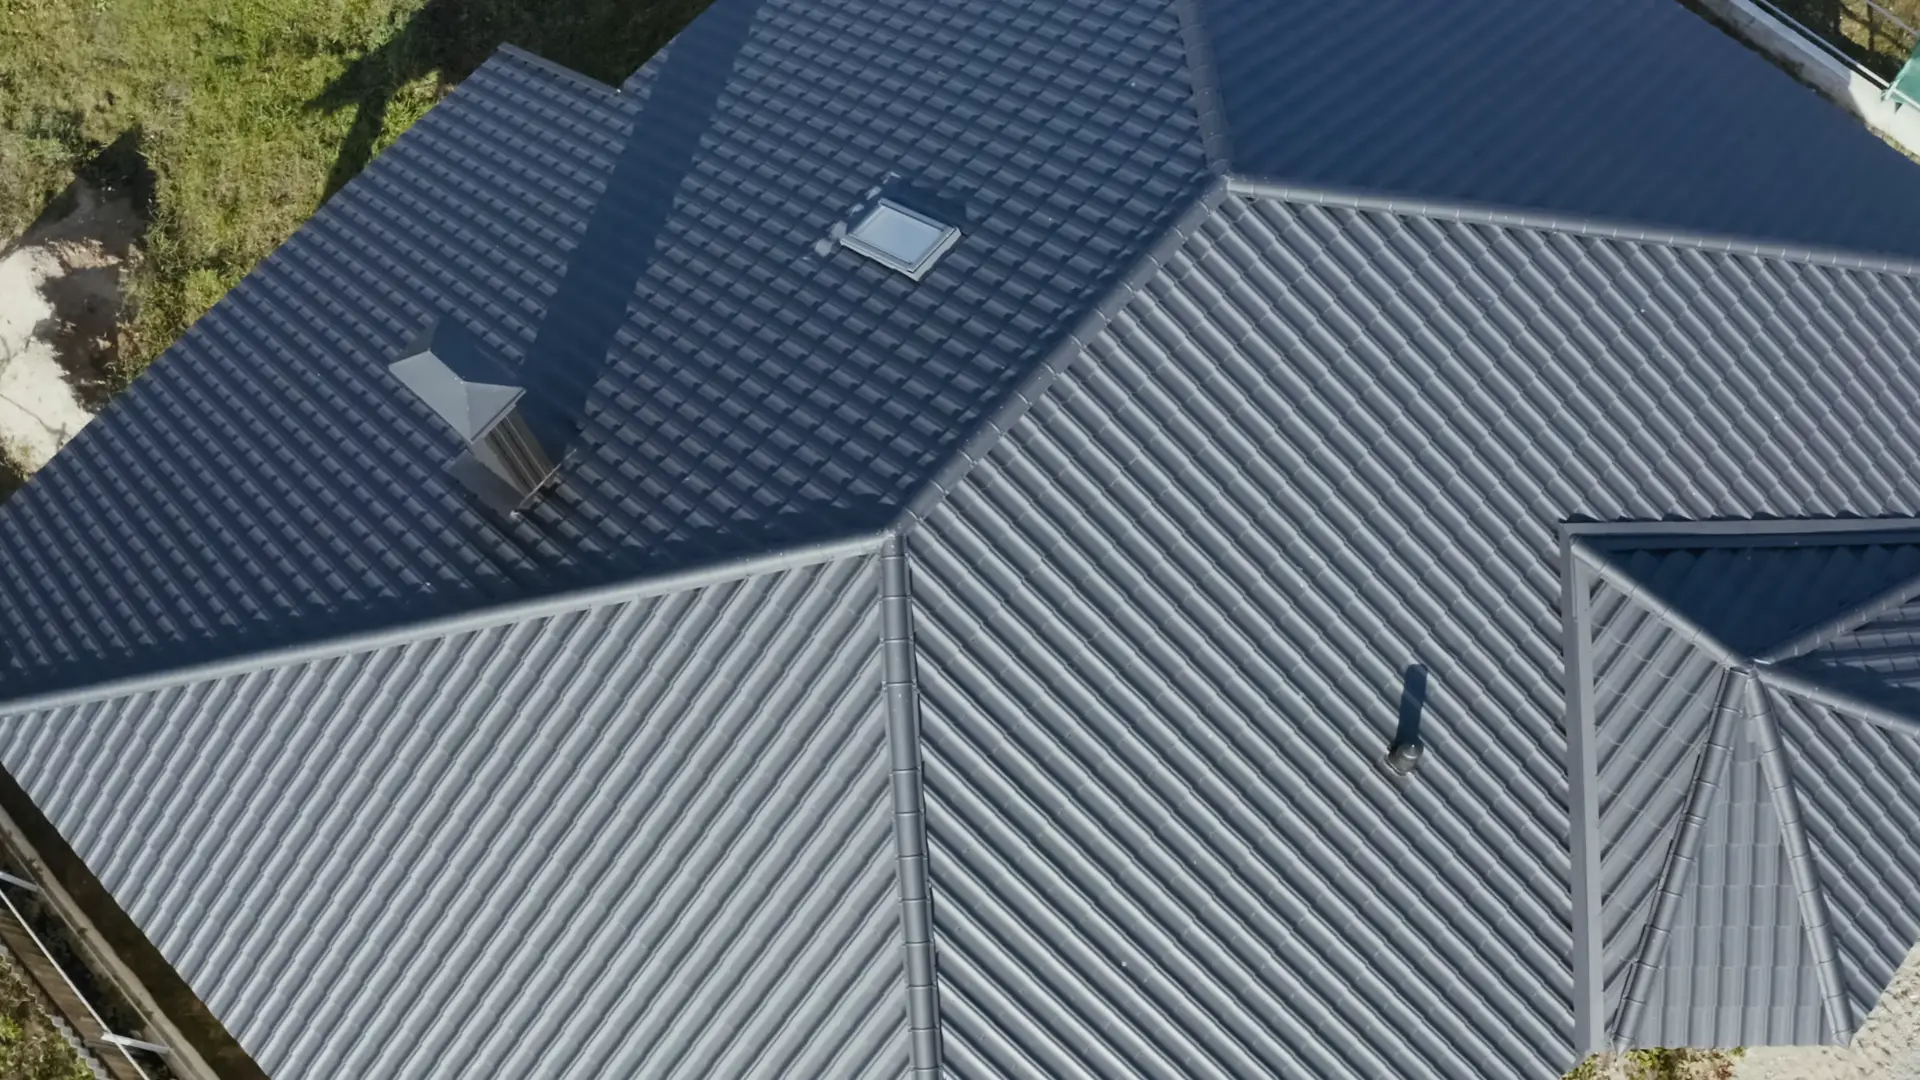
Step 2: Look for Visible Roof Damage
Once it’s safe, begin examining your roof from the ground.
Be on the lookout for:
- Shingles that are cracked, curled, missing, or blown away
- Metal flashing that’s bent, lifted, or detached
- Punctures from fallen branches or wind-driven debris
- Damaged roof valleys or ridge caps
Even subtle signs can indicate underlying problems. Including this in your Storm Damage Checklist helps catch issues before they escalate into roof leaks or structural damage.
Step 3: Inspect Gutters and Downspouts
Gutters and drainage systems can reveal important clues about roof health.
- Are the gutters sagging, loose, or pulling away from the home?
- Do you see a buildup of granules from asphalt shingles?
- Is water flowing away from the foundation properly?
Granule loss may mean the storm wore down your shingles. Damaged gutters can also worsen water damage. That’s why every thorough Storm Damage Checklist should include an exterior drainage review.
Step 4: Check the Attic and Ceilings Indoors
Interior damage may not show up for days, but early signs often appear in your attic or top-floor ceilings.
Things to check:
- Water stains, bubbling paint, or dark spots on ceilings or walls
- Damp insulation or wood
- Musty odors that suggest trapped moisture
- Light shining through the roof decking in the attic
Your Roof Storm Damage Checklist isn’t complete without checking the inside of your home. This step helps catch leaks and avoid mold growth, which can become a serious health hazard.
Step 5: Document Everything Thoroughly
Proper documentation is critical if you plan to file an insurance claim.
Here’s how to do it right:
- Take wide and close-up photos of all damage (inside and outside)
- Keep a list of affected areas, including dates and descriptions
- Save weather reports and storm alerts from local news or official sources
- Use video footage when possible to provide additional evidence
A well-documented Roof Storm Damage Checklist puts you in a stronger position to get claims approved quickly and accurately.
Step 6: Use Temporary Protection If Needed
If you find active leaks or exposed areas:
- Cover them with a tarp, securely fastened with roofing nails or strong tape
- Place buckets or plastic sheeting indoors to catch drips
- Avoid attempting DIY repairs if the damage is significant or unsafe
This emergency step in the Roof Storm Damage Checklist can prevent further water damage while you wait for professional help.
Step 7: Call a Professional for a Full Inspection
Many forms of roof damage aren’t obvious to the untrained eye. That’s why a professional roof inspection after a storm is essential.
A qualified roofing contractor can:
- Identify hidden issues like lifted shingles, flashing problems, or water intrusion
- Provide a detailed inspection report for your insurance company
- Offer estimates for repairs or replacement, if needed
Completing your Roof Storm Damage Checklist with a professional evaluation ensures that your roof is safe, secure, and ready to handle future weather.
Step 8: Understand the Insurance Process
Your roof insurance coverage can vary based on your policy and the type of storm damage.
- Report the claim to your insurance company as soon as possible
- Provide your documentation, photos, and any professional inspection reports
- Don’t authorize permanent repairs until your claim is approved
- Ask if your roofer can meet the insurance adjuster onsite
Understanding this process is a valuable part of your Roof Damage Checklist, helping you avoid common delays and missteps in your claim.
Frequently Asked Questions
- How quickly should I use a roof storm damage checklist after a storm?
Ans: Ideally, within 24–48 hours. Early action can prevent further damage and help you meet insurance deadlines. - Is all storm damage visible right away?
No. Many forms of damage—like soft spots, underlayment tears, or flashing shifts—may only be visible to a trained professional. - What if I wait to take action?
Delaying repairs can result in denied insurance claims, mold growth, or further structural damage. Using a Roof Storm Damage Checklist right away helps minimize those risks. - Can I inspect my own roof safely?
You can inspect from the ground and inside your home. Leave rooftop inspections to a licensed contractor with the proper safety equipment.
Final Thoughts: Don’t Ignore Roof Damage After a Storm
A storm may only last a few minutes, but its damage can last for years if you don’t take the right steps. By following this proven Roof Storm Damage Checklist, you’re protecting your home, your investment, and your peace of mind.
Every step you take—from ground inspections to documentation and professional follow-up—helps you stay ahead of costly repairs and insurance delays.
Have questions about your roof? Don’t wait—reach out to the trusted team 1HundredX Roofing & Exteriors and protect your home before the next storm hits.